

You've just finished an oil change, or you're waiting at a junction with the engine warm, when the oil-pressure warning appears. You search for an Audi oil pressure sensor and find a replacement that looks like the one on your engine. Before ordering it, there's a more important question to answer: has the switch failed, or is it reporting a real lubrication problem?
Table of Contents
- Why Your Audi Oil Pressure Warning Deserves a Second Look
- Recognizing Sensor Failure Symptoms and Fault Codes
- Testing Oil Pressure with a Mechanical Gauge
- Identifying the Correct Sensor for EA837 and EA825 Engines
- Removing and Installing the Oil Pressure Sensor
- Verifying the Repair and Avoiding Post-Service Pitfalls
- When to Stop Driving and When to Replace the Sensor
Why Your Audi Oil Pressure Warning Deserves a Second Look
An oil-pressure warning isn't a parts diagnosis. It tells you the monitoring system has detected a condition that needs investigation. A defective switch can trigger that warning, but so can an engine that isn't developing sufficient pressure.
That distinction changes the job completely. An electrical fault needs circuit testing and possibly a replacement switch. A lubrication fault needs investigation of the oil supply, filter housing, pickup, pump, or internal engine condition. Replacing a switch doesn't correct those problems.
The warning and the cause aren't the same thing
Start by separating an active red oil-pressure warning from a fault code discovered during a scan. A red warning requires an immediate safe stop and engine shutdown. A stored code without an active warning still needs diagnosis, but the code alone doesn't establish that the engine currently has low pressure.
Don't use normal engine sound as permission to continue driving. Equally, don't assume every stored pressure-related fault proves mechanical damage. Both shortcuts replace testing with guesswork.
Practical rule: Treat the warning seriously without deciding which part has failed.
Audi doesn't use one universal pressure sensor across its engines. For example, Audi's catalog lists the light-blue 06K919081B pressure switch for several 4.0-liter A8, RS7, S6, S7, and S8 applications, with a specified range of 2.7–3.4 bar, approximately 39–49 psi. Those details identify a calibrated component, not a generic switch suitable for every Audi.
Establish the basics before ordering parts
Record what happened rather than immediately clearing the warning:
- Operating condition: Note whether the engine was cold, fully warm, idling, or accelerating.
- Service history: Identify recent oil, filter, wiring, or engine work.
- Vehicle identity: Gather the VIN, engine code, and existing part identification.
Oil selection and maintenance history belong in that initial assessment. Owners reviewing those basics can use the Audi A4 oil guide alongside their vehicle-specific requirements.
The useful question isn't whether a sensor replacement is inexpensive or accessible. It's whether the evidence supports replacing it. Mechanical pressure verification comes before authorizing the repair.
Recognizing Sensor Failure Symptoms and Fault Codes
An intermittent warning at warm idle can tempt you to blame a tired switch. A warning that disappears as engine speed rises can tempt you to do the same. Neither pattern distinguishes an electrical fault from genuine pressure loss by itself.
Use symptoms to decide what to test, not what to buy. Record whether the warning appeared after servicing, whether it returns under repeatable conditions, and whether the dashboard displayed a red warning or the fault appeared only during scanning.
The checklist below can help organize the initial inspection. Any repair-cost information shown should not be treated as a vehicle-specific estimate.
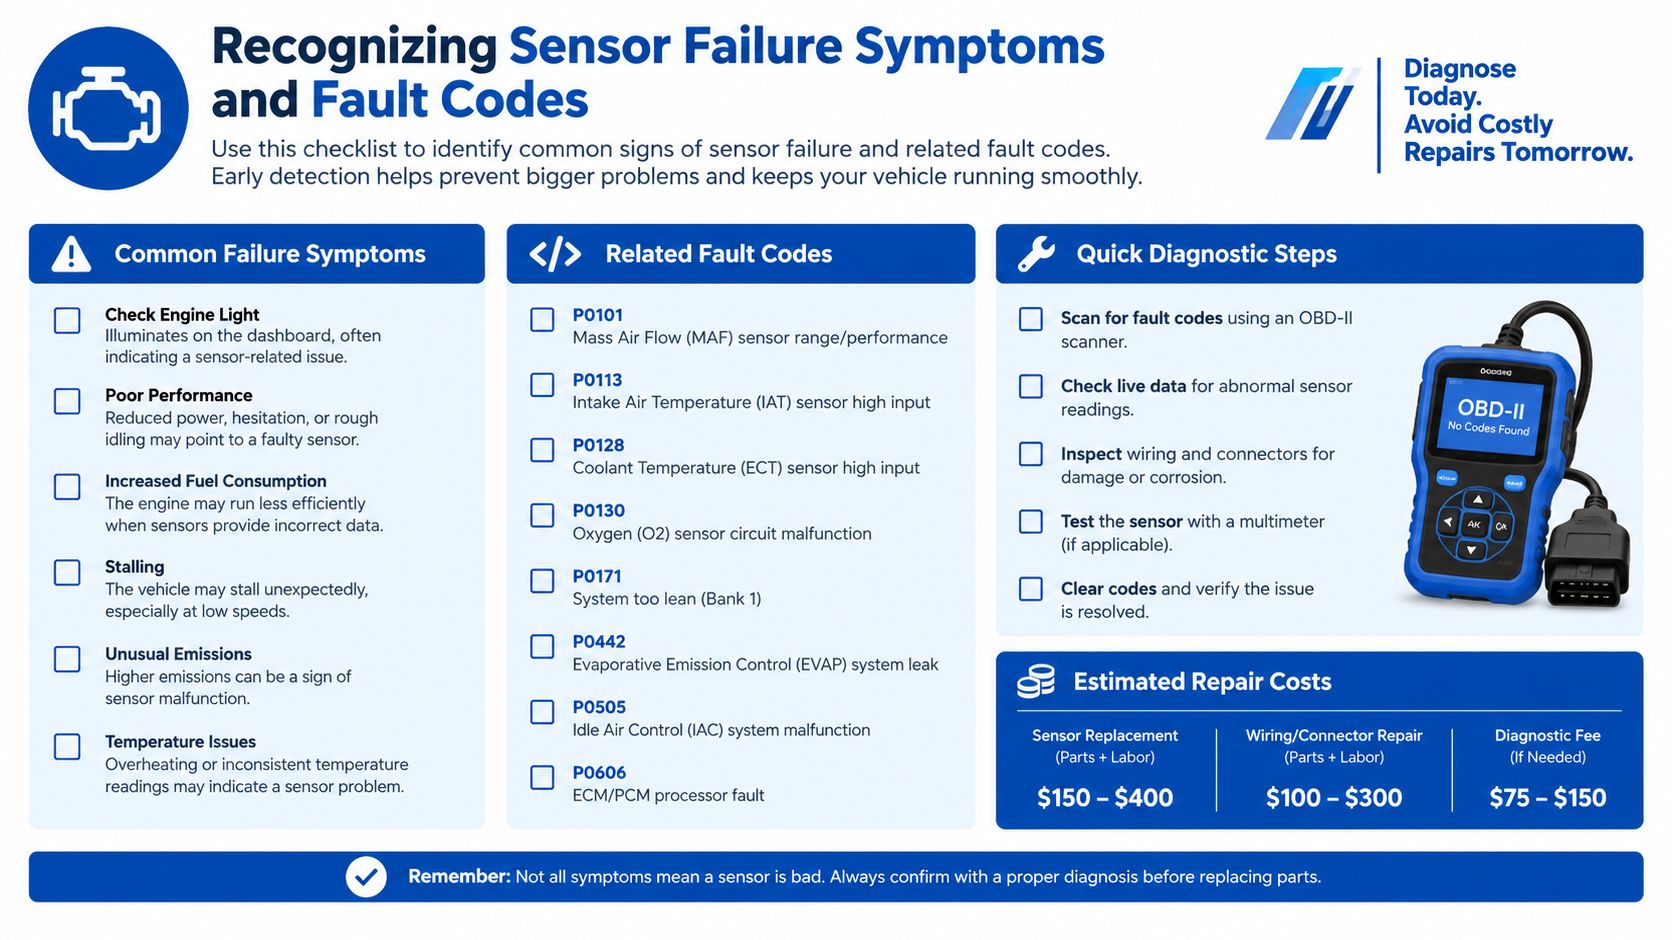
Read the circumstances behind the code
P0521 and P164D00 aren't instructions to replace a sensor. Save the complete fault description and freeze-frame data before clearing anything. Engine speed and temperature at the recorded event help the technician reproduce the condition instead of testing an unrelated operating point.
The broader guide to check-engine-light causes provides context for interpreting faults, but an oil-pressure complaint needs its own mechanical investigation.
Inspect the electrical connection carefully:
- Oil contamination: Examine the connector cavity rather than judging only its exterior.
- Terminal condition: Look for corrosion, loose contacts, and incomplete engagement.
- Harness damage: Check for chafing, stretched wiring, and damage near recently disturbed components.
Finding contamination makes an electrical problem plausible. It doesn't prove that pressure is healthy.
Why temperature and pressure matter together
Audi's technical bulletin for P164D00 specifies testing with oil at 80°C and uses 1.3 bar, approximately 19 psi, as a decision point. Below that pressure, the procedure directs inspection of the filter-housing rubber drain plug and its position in the spring; above it, the procedure directs replacement of the low-pressure switch F378.
The bulletin identifies that switch underneath the supercharger and gives replacement part number 06E919081D for the covered application.
That's a controlled diagnostic branch, not a universal pressure specification. Its value is the method: Audi distinguishes a housing-related pressure problem from a switch fault using an actual measurement under defined conditions.
Testing Oil Pressure with a Mechanical Gauge
A supercharged V6 rolls in with an oil-pressure warning that only appears at hot idle. The scan tool reports the switch calling low pressure. One question decides the entire repair path: what is the engine making? A calibrated mechanical gauge answers that directly, while every electrical test only describes what the monitoring circuit believes.
Treat this as controlled workshop testing. An unresolved red warning means the car stops until pressure is proven, and missing equipment or specifications means the job goes to a shop that has them.
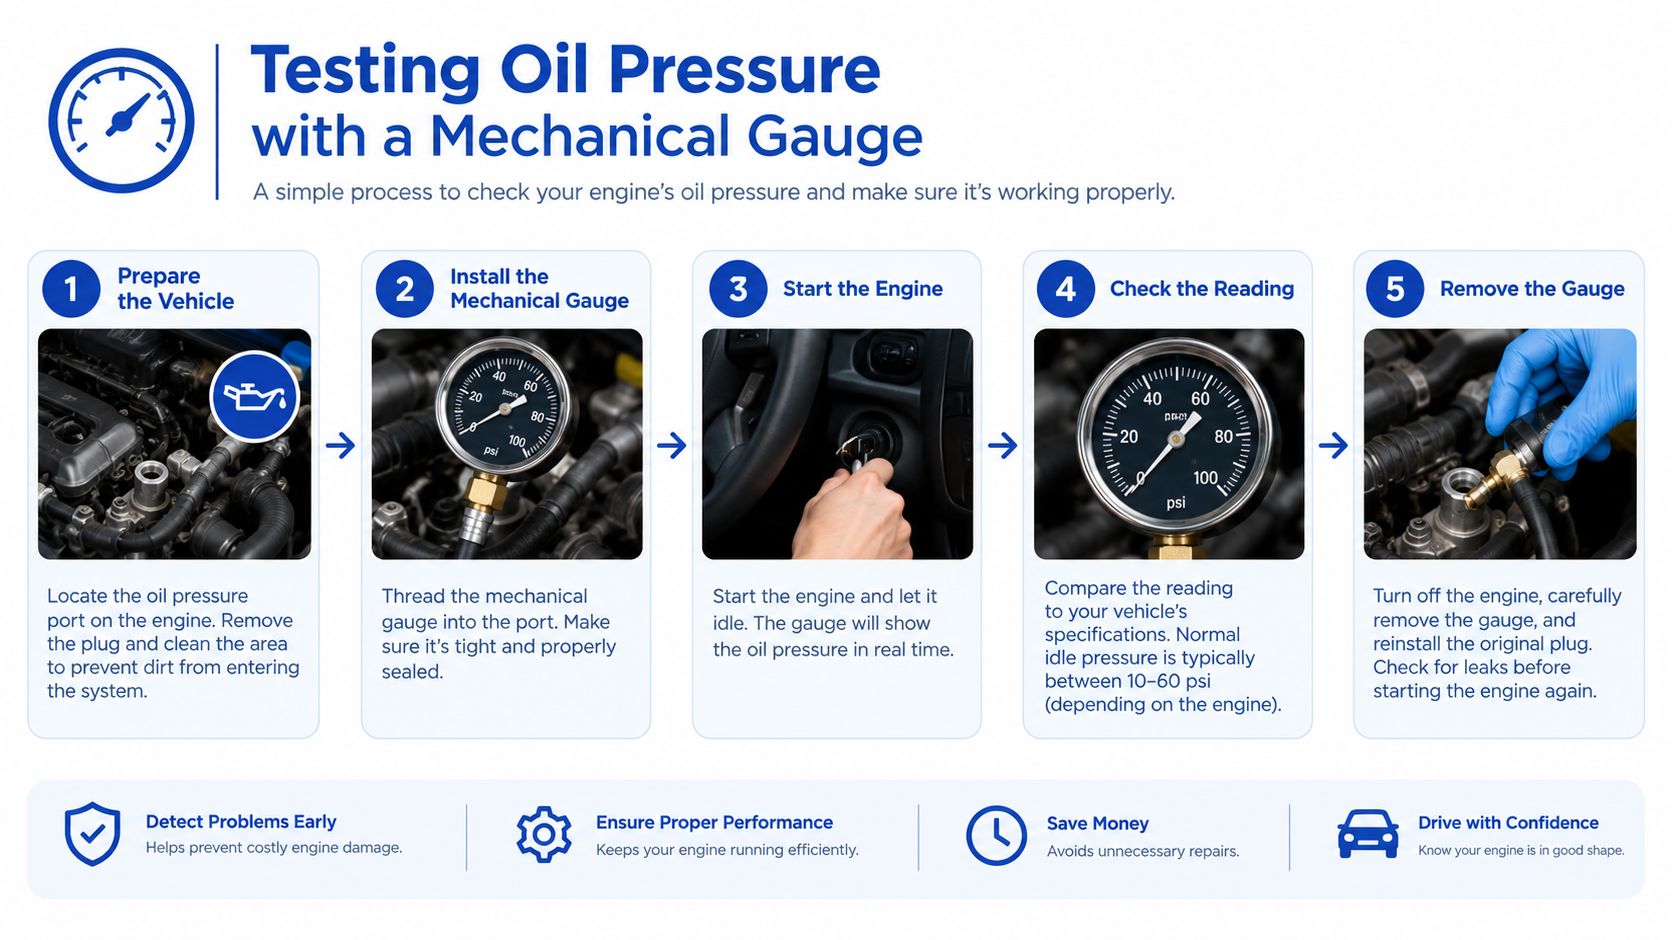
The test itself runs in three stages:
- Pull the procedure first. Get the workshop instructions for the exact engine code and confirm the test port, required oil temperature, operating points, and acceptable readings before touching a switch.
- Fit the gauge correctly. With the engine off and safe, install the gauge at the specified pressure-switch bore using the proper adapter. Never force a near-matching fitting into the housing. Route the hose clear of belts and hot surfaces, and position the dial where you can read it from a safe spot. Audi workshop pressure-testing procedures describe a dedicated V.A.G. tester connected at the switch bore, and the principle carries over: direct measurement, specified connection, suitable instrument.
- Measure under complaint conditions. Bring the oil to the prescribed temperature. Record hot-idle pressure, then the higher-speed readings the procedure calls for. Log oil temperature and engine speed beside every number, because a pressure figure without conditions is nearly worthless.
Two comparison errors ruin otherwise good tests. A cold reading held against a hot specification tells you nothing, and a switch activation range is not the engine's required operating pressure. Those values describe different things.
Once you have real numbers, the branch is simple:
| Gauge result | Meaning | Correct response |
|---|---|---|
| Below specification | Genuine lubrication fault | Stop replacing electrical parts; investigate the oil circuit |
| Within specification | Monitoring circuit suspect | Test switch, connector, and harness per the circuit procedure |
| Complaint doesn't reproduce | Wrong test conditions | Recheck temperature and operating states before calling it fixed |
A normal reading under the wrong conditions doesn't clear an intermittent pressure complaint.
Get the numbers on paper. A job record showing actual readings, oil temperature, and engine conditions beats "pressure checked" every time, and it gives you a baseline if the warning returns.
Identifying the Correct Sensor for EA837 and EA825 Engines
The phrase Audi oil pressure sensor can refer to different components with different electrical behavior. Before comparing replacements, establish whether the engine uses discrete pressure switches, a variable-output sensor, or multiple monitored pressure points.
This distinction matters on both EA837 and EA825 vehicles. An engine-family label helps organize the search, but it doesn't establish the exact switch, installation location, connector, or test method for a particular VIN.
A switch isn't a variable-output transducer
A discrete pressure switch changes electrical state at its calibrated threshold. Its diagnosis centers on switching pressure and continuity. A variable-output transducer changes its signal with pressure and requires supply, ground, signal, and pressure-correlation checks.
For context, a Q7 variable-output sensor diagnostic reference describes a signal of approximately 0.5 V at low pressure rising toward 4.5 V under higher-pressure conditions. A signal fixed above roughly 4.8 V can indicate a short to power or sensor failure, particularly when gauge pressure is normal. Those values aren't a test specification for discrete Audi pressure switches.
On the supercharged EA837 application covered by the earlier bulletin, F378 sits beneath the supercharger. Don't transfer that location or access procedure to an EA825. Verify the EA825 component position in VIN-specific service information rather than assuming every Audi V8 uses the same arrangement.
The Audi supercharged V6 overview provides platform context, but parts identification still needs the engine's exact documentation.
Audi Oil Pressure Switch Identification Quick Reference
| Part Number | Switch Type | Activation Range | Typical Application |
|---|---|---|---|
| 06K919081B | Calibrated pressure switch | Catalog range described earlier | Catalog-listed Audi V8 applications |
| 06E919081D | Low-pressure switch F378 in the cited bulletin | Verify the application-specific specification | Bulletin-covered supercharged application |
| Verify by VIN | F378 low-pressure switch discussed by owners | Roughly 0.75–1.05 bar, as described in the linked discussion below | Discussed 3.0T application |
The activation range in the final row comes from a technical discussion of 3.0T oil-pressure-switch issues, not a universal specification for every EA837 variant.
Before purchasing, reconcile VIN, engine code, OEM part number, connector, and calibrated function. Color and thread appearance are supporting checks, not substitutes for that identification. Where multiple switches are fitted, confirm which monitored circuit generated the fault.
Removing and Installing the Oil Pressure Sensor
Say the gauge test came back healthy, the wiring checks out, and the switch is now the prime suspect. Removal looks easy on paper. In practice, the comebacks I see after this job trace to rushed access, crossed threads, and torque applied by feel rather than to a documented spec.
The photo shows a sensor installation in general terms. It is not a location guide for any particular Audi engine.
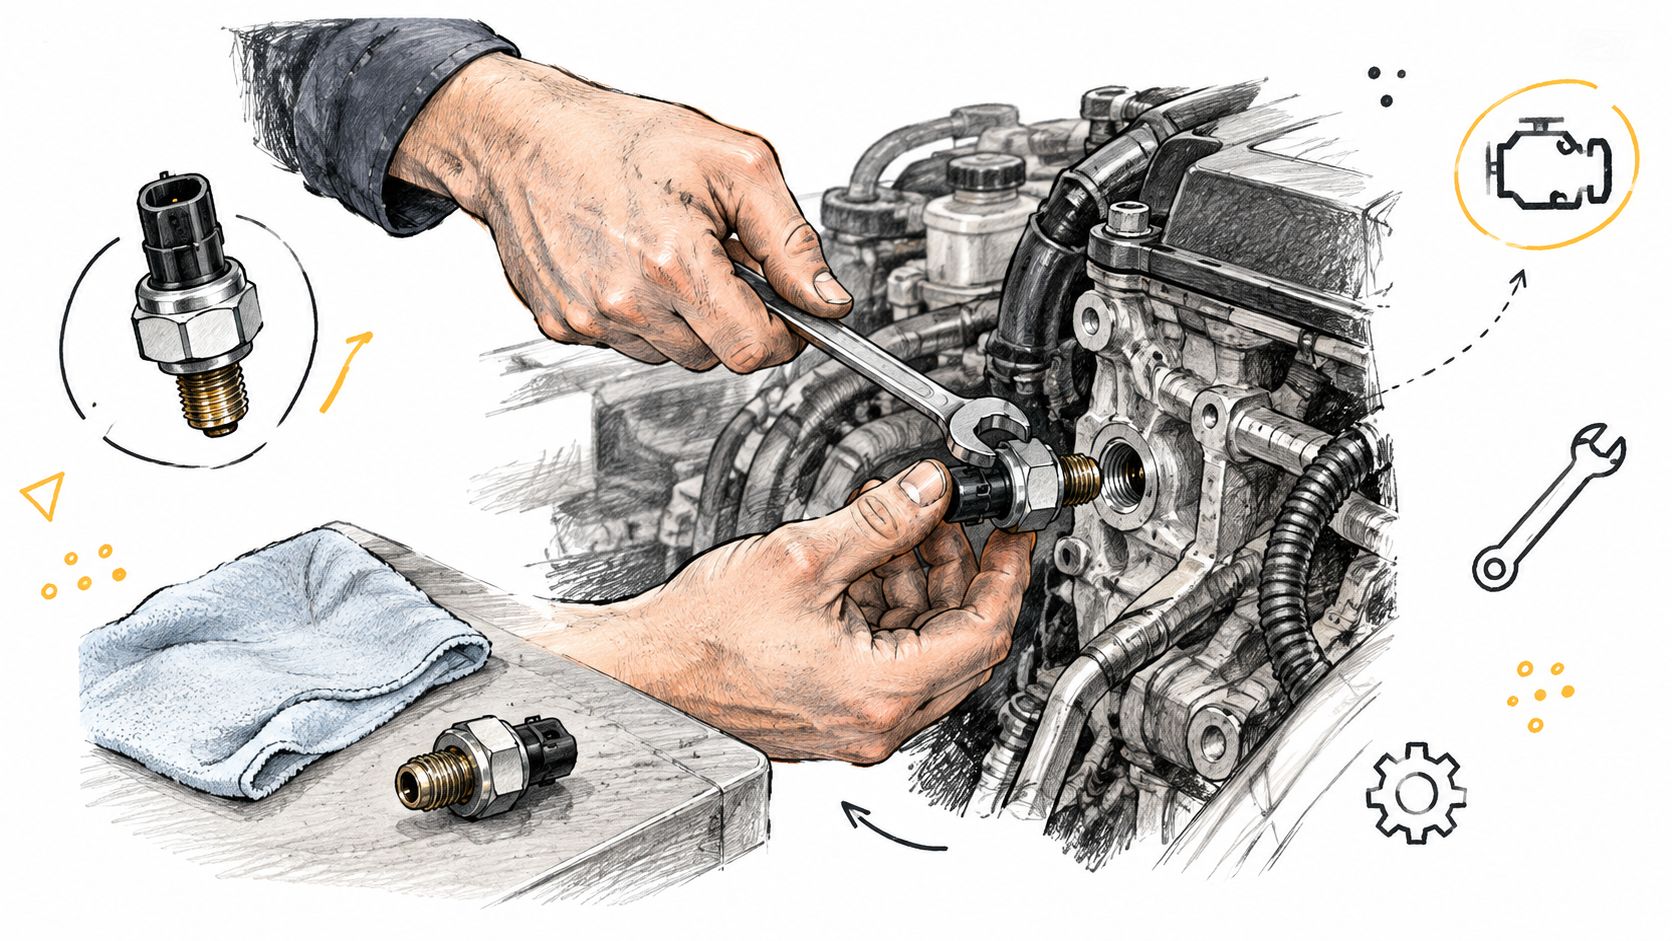
Access decides how the job goes. On the bulletin-covered supercharged application, the F378 position may require removing surrounding components first, so let the engine cool and follow the workshop sequence for whatever is in the way. For an EA825, pull up the VIN-specific component-location drawing before dismantling anything. A switch you can reach easily is not automatically the one that generated the fault.
Once access is sorted, the work runs in this order:
- Clean around the switch before opening the oil passage so debris cannot fall in.
- Release the connector lock and pull on the housing, never the wires. Inspect the connector seal while it is accessible.
- Break the switch loose with a correctly fitting socket, or a crowfoot that engages the body without loading the electrical housing.
- Compare old and new parts: connector keying, thread and sealing design, and the part number against the VIN-confirmed identification including any supersession.
- Start the new switch by hand. If it resists, stop and find out why rather than drawing it in with a wrench.
- Apply the specified sealing method and tighten to the documented torque. No single value covers every Audi oil-pressure switch.
- Reconnect the plug until the lock clicks, restore harness routing and removed components, and account for every tool before startup.
Two details deserve emphasis here. Over-tightening can crack the switch body or distort the sealing interface. A crowfoot also changes the effective torque delivered at the fastener, so apply the correction factor from your torque-wrench documentation instead of treating the wrench reading as the true value.
For a visual walkthrough of a sensor swap, treat the demonstrated procedure as illustration and confirm each step against your engine's service information.
Verifying the Repair and Avoiding Post-Service Pitfalls
A warning light that stays off after a code clear proves nothing. I've seen fresh switches installed on engines that still ran low pressure at hot idle, and the only thing the new part changed was the invoice. Verification means reproducing the conditions that triggered the original complaint and confirming the pressure holds there.
Before clearing anything, save the freeze-frame data and diagnostic record so the comparison after repair is meaningful. Then run the engine through a controlled warm-up and inspect the switch port and surrounding joints for seepage. If a mechanical gauge reading drove the diagnosis, repeat that measurement at the same engine temperature and RPM that produced the suspect value. One sentence of discipline here saves a comeback later.
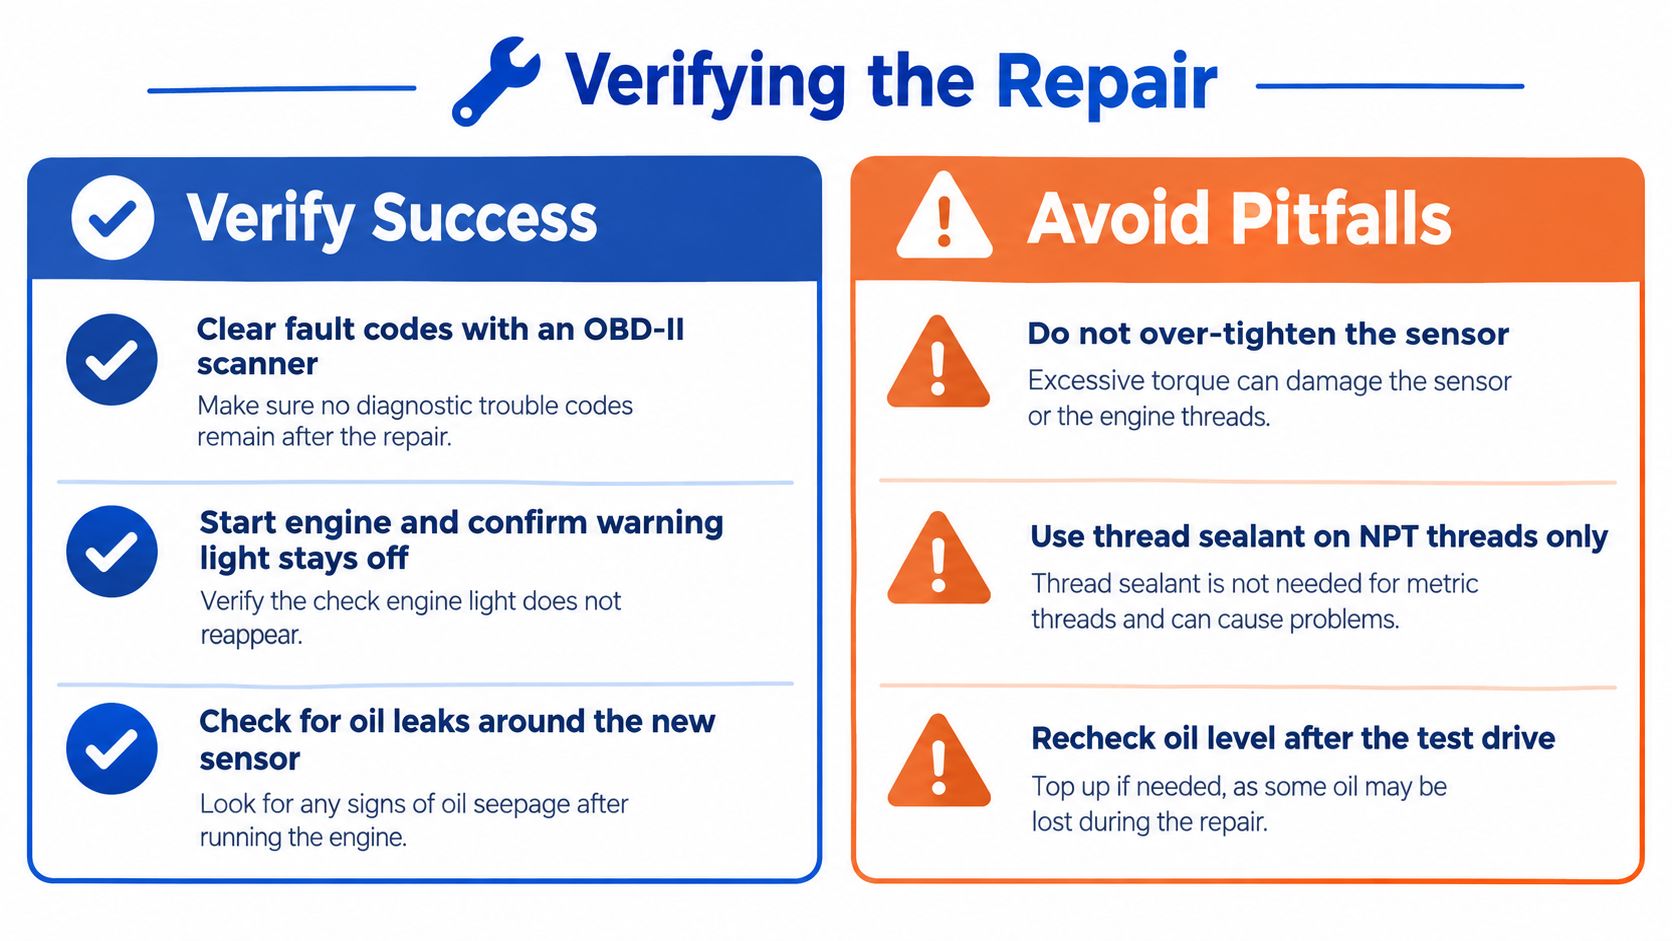
A warning that appears after an oil change
Ask what changed immediately before the light came on. A filter replacement done days earlier is diagnostic evidence, not background maintenance.
Audi's bulletin on reduced-pressure faults identifies an incorrectly sized filter as a possible cause and specifies a filter length of 155 ± 1 mm for the covered application. A shorter element can leave the housing drain flap open and bleed off pressure. In that case the electronics are reporting a genuine hydraulic problem created by an unsuitable part, and the dimension applies only to the covered application, so confirm fitment before selecting an element.
Final inspection before sign-off
Work through the items the job disturbed, and treat each as a confirmed condition rather than an assumption:
| Check | What to confirm |
|---|---|
| Filter installation | Correct application, full seating, housing components refitted |
| Switch connection | Terminal lock engaged, contamination found during diagnosis resolved |
| Oil containment | No weeping at the new switch or disturbed housing joints |
| Final condition | Oil level set by the vehicle's specified method, fault memory reviewed again |
If seepage around the housing was part of the original complaint, separate it from a switch-port leak. The oil filter housing gasket guide covers that distinct repair.
Successful verification means the original complaint has been tested under the same conditions that produced it, not that the warning disappeared after clearing codes.
Don't road-test a vehicle to see whether an unresolved pressure warning becomes more convincing. Establish acceptable pressure and complete the stationary checks first. Only then should a controlled road test, where appropriate, form part of final verification.
When to Stop Driving and When to Replace the Sensor
The cheapest-looking repair isn't necessarily the least expensive decision. Installing a switch without establishing actual pressure can leave the underlying fault untouched and give the owner false confidence.
Use the warning status and test evidence to choose the next action. Don't use the price of a replacement part as the deciding factor.
Choose the action that matches the evidence
- Active red oil-pressure warning: Pull over safely, switch off, and arrange recovery. Don't drive to the workshop to save a tow.
- Stored electrical code without an active warning: Arrange diagnosis promptly. Whether driving is appropriate depends on the exact fault, symptoms, and a technician's assessment, not merely the absence of a red symbol.
- Mechanical pressure below specification: Investigate the lubrication system before authorizing a sensor-only repair.
- Mechanical pressure correct but monitoring inconsistent: Complete the relevant circuit and component tests, then replace the identified defective part.
A code reader can identify the system reporting a problem. It can't certify the engine's lubrication condition by itself. Likewise, a switch that looks old isn't evidence that it caused the warning.
Replace the component you have proved faulty
A justified sensor replacement rests on a chain of evidence: suitable mechanical pressure under the relevant conditions, correct circuit testing, and positive identification of the replacement part. If those conditions haven't been established, the diagnosis isn't finished.
Engine naming can also confuse parts searches. Treat broad resources such as the Audi V8 engine guide as background, not as substitutes for VIN-based fitment and workshop information.
Ask the workshop for the pressure results, the identified fault, and the part number proposed for replacement. Those are reasonable questions, especially when access makes repeat labor undesirable.
Verify pressure first, identify the correct component, install it properly, and confirm the original complaint is resolved. That approach protects against both unnecessary switch replacement and the more serious mistake of overlooking genuine low pressure.
Vorsprung Autowerk offers Audi-focused maintenance components, platform-specific parts information, and OEM part sourcing support. Visit Vorsprung Autowerk with your VIN, engine code, and confirmed diagnostic findings to discuss the correct component before ordering an oil-pressure switch.


