

Your Audi shakes at idle, the engine light is on, and the scanner points to a misfiring cylinder. A replacement coil is already in your shopping cart. Before ordering it, check whether the fault actually belongs to the coil.
A misfire code tells you where combustion went wrong, not which part to buy. Knowing how to replace ignition coil assemblies properly means proving the fault first, removing the old part without damaging the connector, and confirming the repair under the conditions that caused the problem.
Table of Contents
- Tools, Parts and Specs for EA837 and EA825 Coils
- Find the Failing Coil Before You Buy One
- How to Remove the Old Coil Step by Step
- How to Seat and Torque the New Coil
- Troubleshoot Misfires and Confirm the Repair
Tools, Parts and Specs for EA837 and EA825 Coils
Get the diagnostic equipment out before opening the parts box. A scanner that displays cylinder-specific misfire counters is more useful here than a basic reader that only clears the engine light.
Tools and specifications checklist
| Tool or spec | Used for | What to confirm |
|---|---|---|
| Torque wrench | Coil retaining fastener | Obtain the Audi workshop value for the exact engine code and model year before tightening |
| T30 Torx bit | Retaining screw or harness fastener where fitted | Confirm the actual fastener head before applying force |
| Coil puller tool | Stuck coils | Use the puller specified for the fitted coil design |
| Plastic pick or trim tool | Releasing connector locks | Identify the lock's release direction before lifting it |
| Multimeter | Supply voltage and ground checks | Confirm terminal identification and the vehicle-specific test procedure |
| OBD2 scanner with live data | Misfire counters and freeze frame | Confirm it reads Audi misfire data on your ECU |
| Dielectric grease | Boot sealing surface only | Use sparingly and keep it off metal contacts |
Buy by vehicle identity, not appearance
EA837 and EA825 applications have different packaging, access requirements, and coil fitments. Don't assume that an Audi-branded coil, a matching photograph, or a listing with the right cylinder count establishes compatibility.
Use the VIN, engine code, build information, and current part-number supersession. Record the old coil's number, but remember that a previous owner may have installed the wrong part. Compare connector geometry, boot length, and the mounting arrangement before dismantling the car.
An ignition coil kit guide can help you assess replacement options, but the vehicle's fitment information remains the deciding check.
Leave the torque setting unresolved until you verify it
There isn't a universal Audi coil-fastener torque to apply across these engines. Get the workshop specification before starting, and use a torque wrench that works accurately at the required setting.
Supply-voltage guidance also differs: Delphi's ignition-coil service guide recommends supply voltage above 10.5 V. Don't combine thresholds from different test procedures or substitute them for Audi's wiring diagram and test conditions.
Bench preparation: Lay out a clean rag, a labelled fastener tray, and a record of the existing coil part numbers. Keeping hardware organised is cheaper than retrieving a dropped screw from behind the engine.
Find the Failing Coil Before You Buy One
Ordering a coil directly from a cylinder-misfire code is an expensive shortcut. The ECU detects uneven combustion; it doesn't inspect the coil's insulation, spark plug, injector, or cylinder sealing.
Start with a scan, then use observation and a controlled swap to separate the possibilities. The check-engine-light diagnosis guide provides context when the scan includes faults beyond misfires.
Establish the fault before moving parts
- Save the evidence. Record the exact codes, affected cylinder, freeze-frame information, and whether the fault occurred cold, warm, at idle, or during acceleration. Don't clear anything yet.
- Watch live misfire counters and compare the suspect cylinder with a healthy cylinder. Only assess light-load operation if the engine runs safely; severe shaking or a flashing warning light rules out a diagnostic drive.
- With the ignition off and engine cool, inspect the boot, plug well, connector, and accessible harness. Carbon tracking, corrosion, oil saturation, and damaged locking tabs all matter.
- Check the electrical supply correctly. NGK's diagnostic guidance specifies at least 11.5 V between terminals 1 and 15 during its supply check, and calls for checking ground and the ECU command signal before condemning the coil.
Use the stricter supply screening figure where that procedure applies, but verify terminal numbering against the vehicle diagram. Don't probe an unidentified connector or touch the high-voltage output. Command-signal testing belongs with someone equipped to interpret it safely.
The video offers a visual reference for the work, not a substitute for the vehicle-specific procedure.
Change only the coil during the swap
Move the suspected coil to another compatible cylinder and record its destination. Leave the plugs in place so you haven't changed multiple variables, then clear the recorded faults and reassess safely.
A fault that follows the coil justifies replacement. A fault that stays behind calls for plug, wiring, injector, or mechanical checks. A static resistance pass doesn't establish that a modern coil works when hot or under load; generic winding ranges aren't Audi acceptance specifications.
Diagnosis results and what they mean
| Test result | What it indicates | Next step |
|---|---|---|
| Misfire follows the coil after swap | Coil confirmed as failed | Replace the coil and verify |
| Misfire stays on the original cylinder after swap | Spark plug, injector, compression, or wiring fault | Inspect plug and wiring before buying a coil |
| Supply below the applicable test threshold | Possible supply, battery, connection, or ground problem | Diagnose the circuit before condemning the coil |
| Oil or moisture in the plug well | Oil leak or water ingress | Identify and correct the contamination source |
| Coil passes static ohm test but misfires under load | Possible intermittent failure | Use the swap result and controlled operating test |
| Resistance falls inside a broad generic range | Inconclusive result | Compare only with applicable workshop specifications |
How to Remove the Old Coil Step by Step
Access is often more demanding than the coil replacement itself. Photograph the harness routing and brackets before removing them, particularly where several connectors look alike.
The Audi ignition-system exploded view identifies the coil-and-output-stage assembly within a model-specific service arrangement. It isn't a substitute for the workshop instructions for your engine.
Isolate and expose the affected coil
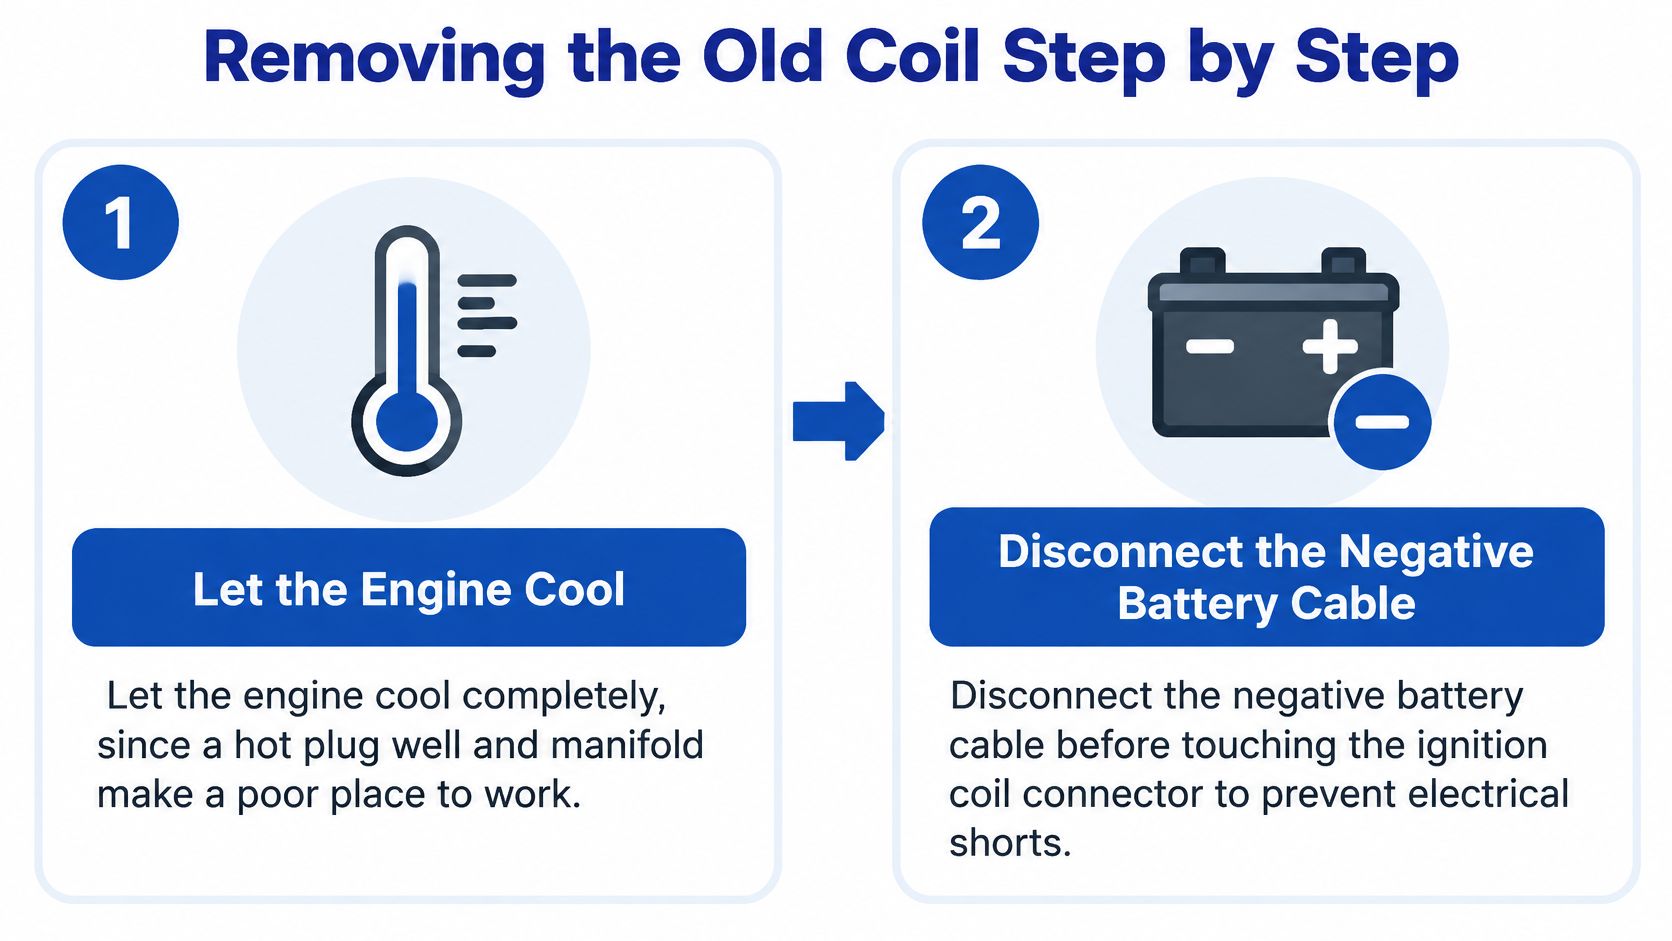
- Let the engine cool completely. Hot manifolds, plug wells, and surrounding components make controlled work difficult. Switch the ignition off and prevent anyone from attempting a start.
- Disconnect the negative battery terminal when the vehicle's service procedure requires it. Complete the diagnostic recording first, and follow the vehicle's battery-disconnection instructions.
- Remove the engine cover and the intake ducting or brackets that obstruct the coil. Release clips deliberately, cover exposed intake openings, and keep dirt away from them.
Use the preparation graphic as a reminder to make the engine safe before handling the connector.
Release the connector before pulling
- Unlock the electrical connector. Support the connector body, release its secondary lock if fitted, and operate the latch. A plastic pick can help identify the movement, but it shouldn't become a pry bar.
- Remove the retaining screw or harness fastener where fitted. Keep the bit square to the head, and check that the harness can move without stretching.
- Fit the specified coil puller if the coil resists removal. Apply force through the intended attachment point rather than levering against the valve cover or pulling the wiring.
- Withdraw the coil vertically until the boot releases, then lift it clear. If surrounding components prevent a straight pull, improve access rather than bending the coil around them.
- Inspect before installing. Look for oil, water, corrosion, damaged terminals, boot fragments, and tracking marks. Record what you find while the evidence is still visible.
A coil pulled sideways can tear its boot and leave material behind in the well. Don't fish blindly around the plug with a sharp metal tool, and don't remove the spark plug while contamination could fall into the cylinder.
If the connector won't release, stop increasing the force. A broken latch can turn a straightforward coil job into a harness repair.
Check the ignition coil connector guide if the lock design is unfamiliar. Brittle housings, recessed terminals, or a previously repaired harness deserve attention before reassembly, not after the engine starts misfiring again.
How to Seat and Torque the New Coil
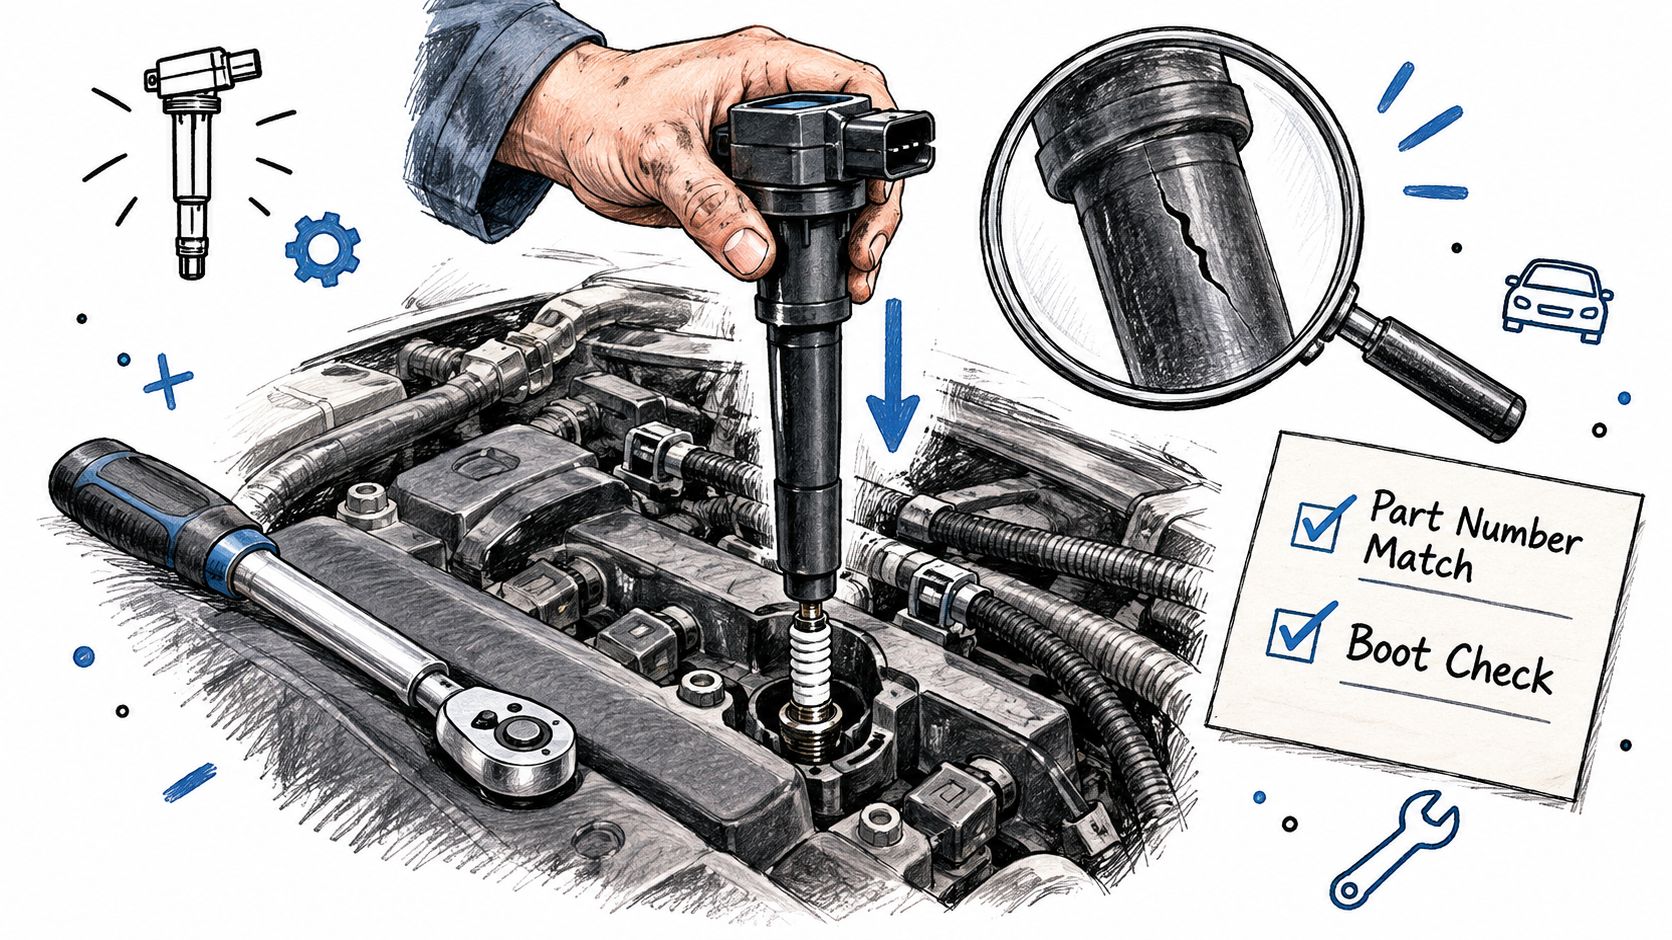
Hold the replacement alongside the removed coil before fitting it. Verify the approved part number or supersession, connector shape, boot, and mounting features against the vehicle's build information.
Inspect the replacement boot as carefully as the old one. A new part with a torn seal or damaged contact shouldn't go into the engine.
The photograph illustrates why visible damage deserves attention before installation.
Seat the boot before tightening hardware
- Prepare the well. Correct the leak or water-entry problem and leave the well clean and dry. Inspect the plug insulator for tracking or damage rather than hiding it under a replacement boot.
- Keep grease where it belongs. If permitted by the component instructions, apply a thin film to the boot's sealing surface. Don't pack the boot or put grease inside electrical terminals.
- Push straight down. Align the boot with the spark plug and press the coil into its seated position. Don't use the retaining screw to drag a resistant coil into place.
- Secure the connection and fastener. Follow the workshop assembly order, engage the connector positively, and tighten the retaining hardware to the verified specification. Stop if the screw binds before its head seats.
- Finish reassembly. Restore harness supports, intake components, and covers, then reconnect the battery if it was disconnected. Check that nothing is trapped beneath a bracket.
A coil that sits noticeably higher than its neighbours needs inspection, not extra screw torque. Excessive tightening can damage the coil mounting feature or the receiving threads.
Check whether a campaign changes the replacement scope
The Volkswagen/Audi bulletin discussed by Doylestown Auto Shop describes covered applications where part numbers and production dates determine whether the prescribed remedy includes all four coils. That is a campaign-specific instruction, not a blanket rule for other Audi engines.
Check applicability before deciding between an individual coil and a set. Inspect the identifiers across the fitted coils when a revision-related defect is relevant, but don't extend a campaign to an unrelated engine.
Platform identity matters more than a broad V-engine description. Treat the Audi V-engine and supercharging overview as background, while using the engine code and applicable service information to make the repair decision.
Troubleshoot Misfires and Confirm the Repair
A smooth first start is encouraging, but it is only one check. A marginal coil, damaged plug, or intermittent harness connection may work at idle and fail as the engine warms or cylinder pressure rises. Confirm the repair under controlled conditions before calling the job complete.
The Astemo ignition-coil replacement instructions recommend checking connector seating and assessing idle, acceleration, and misfire symptoms after installation. Include those operating checks in the repair.
Validate in stages
Begin with the car stationary in a ventilated location. Clear tools from the engine bay, secure intake components, and ensure the harness is away from hot or moving parts.
- Scan after reassembly. Save pending and confirmed faults, plus any available freeze-frame information. Note which faults existed before the repair and which appeared afterward.
- Clear documented faults when appropriate, start the engine, and watch live misfire counters. Listen for uneven running. If the engine runs smoothly, allow it to reach normal operating temperature.
- Check for warning signs. Look for leakage, abnormal heat, smoke, or fuel smell around the vehicle or in the cabin. Shut down if anything suggests a fuel or electrical hazard.
- Take a controlled road test only after the stationary checks pass. Gradually reproduce the original operating conditions without deliberately provoking a severe misfire.
- Rescan after the test. Check whether pending faults returned and whether the affected cylinder is accumulating fresh misfires. A passenger or data-logging function should monitor the scanner so the driver can focus on the road.
Scanner displays differ. Establish whether a counter shows current activity, a running total, or stored history before treating it as evidence of a fresh misfire.
Pass-or-stop decision: Continue validation only while the engine runs normally and no hazard appears. A flashing engine light, severe shaking, strong fuel smell, smoke, or abnormal heat means the test ends. Stop and shut down safely.
Read the pattern instead of ordering another coil
If the same cylinder misfires after a verified replacement, inspect its spark plug for condition and correct specification. Check connector terminal retention and examine the local harness for damage. If those checks do not explain the fault, focus next on injector operation or compression rather than buying more ignition parts.
A cold-only rough idle can point to a poorly seated coil or connector, but temperature-related air leaks, injector behaviour, and mechanical problems can produce similar symptoms. Inspect the components disturbed during installation first, then follow the evidence. A fault that appears under boost also deserves a measured approach: increased ignition demand can expose a plug problem, while fuelling deficiencies may create similar symptoms. Avoid repeated hard acceleration as a diagnostic shortcut.
Know what clearing a code does
Clearing a code removes diagnostic information; it does not correct the condition that triggered it. If a warning lamp returns, scan again and use the new fault status to guide the next check instead of repeatedly resetting it.
A stored misfire code may remain after the underlying problem has been repaired. Assess the result using code status, current counters, engine behaviour, and the post-test scan, not the warning lamp alone. Some fault information may persist until the ECU completes its relevant checks.
If the scan shows timing or synchronisation faults alongside the running complaint, consider the camshaft signal as part of the diagnosis. The Audi camshaft sensor guide provides background for distinguishing those faults from an ignition-coil problem.
Hand persistent faults to a specialist
When the fault remains after the plug, connector, and harness checks, a trained technician can assess injector operation, compression, voltage drop, and control signals with the appropriate equipment. That is a better next step than replacing parts based on the cylinder code alone.
Don't disconnect coils on a running engine to identify a weak cylinder, improvise spark tests, or probe high-voltage circuits with an ordinary meter. Ignition testing can cause serious electrical injury, and some measurements require specialist tools and training.
The repair passes when the engine runs correctly, relevant counters stay stable during a safe operating test, no new related faults appear, and contamination or connection defects have been corrected. Replacing a coil without establishing why the cylinder misfired offers no meaningful basis for judging success.
Vorsprung Autowerk offers Audi ignition coils, maintenance components, and platform-specific parts information to help match the repair to the vehicle. Use your engine code, build information, and confirmed diagnosis when choosing replacement parts through Vorsprung Autowerk.


