

You've just fitted a new set of wheels to your Audi, stepped back, and noticed the face sits farther inside the arch than expected. Or perhaps the wheel is close to the suspension upright, and a search for “spacer 10mm 5x112” has produced dozens of options that appear identical. The tempting answer is to order a ten-millimetre disc and bolt it on.
That's where many fitment problems begin. A spacer's thickness and bolt pattern are only the starting point. Hub diameter, hub-lip height, wheel-seat design, brake clearance, fastener length, and offset decide whether the part is suitable for your particular Audi.
Table of Contents
- Why a 10mm 5x112 Spacer Ends Up in the Cart
- What 5x112 and 10mm Actually Mean
- Measurements That Decide If 10mm Will Fit Your Audi
- Hub Centric Slip On vs Bolt On Spacers for 10mm
- Installing a 10mm 5x112 Spacer Safely
- Common Mistakes and Edge Cases on 5x112 Audis
- Pre Purchase Checklist and When a Spacer Is the Wrong Fix
Why a 10mm 5x112 Spacer Ends Up in the Cart
Your wheel clears the suspension, yet the rim sits farther inside the arch than you expected. A 10 mm spacer can move it outward and improve the stance without replacing an otherwise usable wheel. It may also create extra room at the inner edge, but only after the actual hub, wheel and brake measurements have been checked.
Audi owners see this search result across many performance platforms because the 5x112 pattern appears on the B5 through B9 generations of the A4, plus the A5, A6, Q5 and Q7. The B5 A4 arrived in 1994, and the compatibility details are listed in this Audi and 5x112 compatibility guide.
The common assumption is straightforward: the rear wheels look narrow in the arches, or the front rim sits near the strut, so ten millimetres should fix the problem. Sometimes it does. A correctly matched spacer can improve inner clearance and bring the wheel closer to the body line.
The model badge still cannot confirm fitment. The first-generation Audi TT, sold from 1998 to 2006, used 5x100, not 5x112. Audi's range includes enough platform exceptions that the vehicle model, hub bore and wheel specification all need checking before an order is placed.
Practical rule: Use a spacer to correct a measured clearance or stance issue. Do not use one to guess an unknown wheel specification.
A ten-millimetre spacer changes more than the wheel's appearance. It reduces the hub's exposed locating lip, changes the effective offset and requires fasteners with suitable extra length and the correct seat. Hub-lip height matters because a slip-on spacer must leave enough lip for the wheel to centre securely. Brake-caliper clearance must also be checked with the actual wheel design.
If the wheel has the wrong width, offset, centre bore or brake-clearance profile, moving it outward may trade inner contact for tyre or fender contact. Measure first, then decide whether 10mm addresses the restriction.
What 5x112 and 10mm Actually Mean
5x112 describes a five-fastener wheel pattern arranged evenly around a 112 mm pitch-circle diameter, or approximately 4.41 inches. Think of the bolt circle as five holes on a clock face, each the same distance from the centre. The specification tells you the pattern's geometry, but not whether the wheel will locate safely on your hub.
10 mm describes the spacer's thickness. Assuming the spacer sits completely between the hub and wheel, it moves the wheel outward by approximately 10 mm. A wheel marked ET45, for example, behaves geometrically like approximately ET35 after the spacer is installed. That can create more room between the inner wheel and suspension or brake components, but it also brings the outer wheel and tyre closer to the fender.
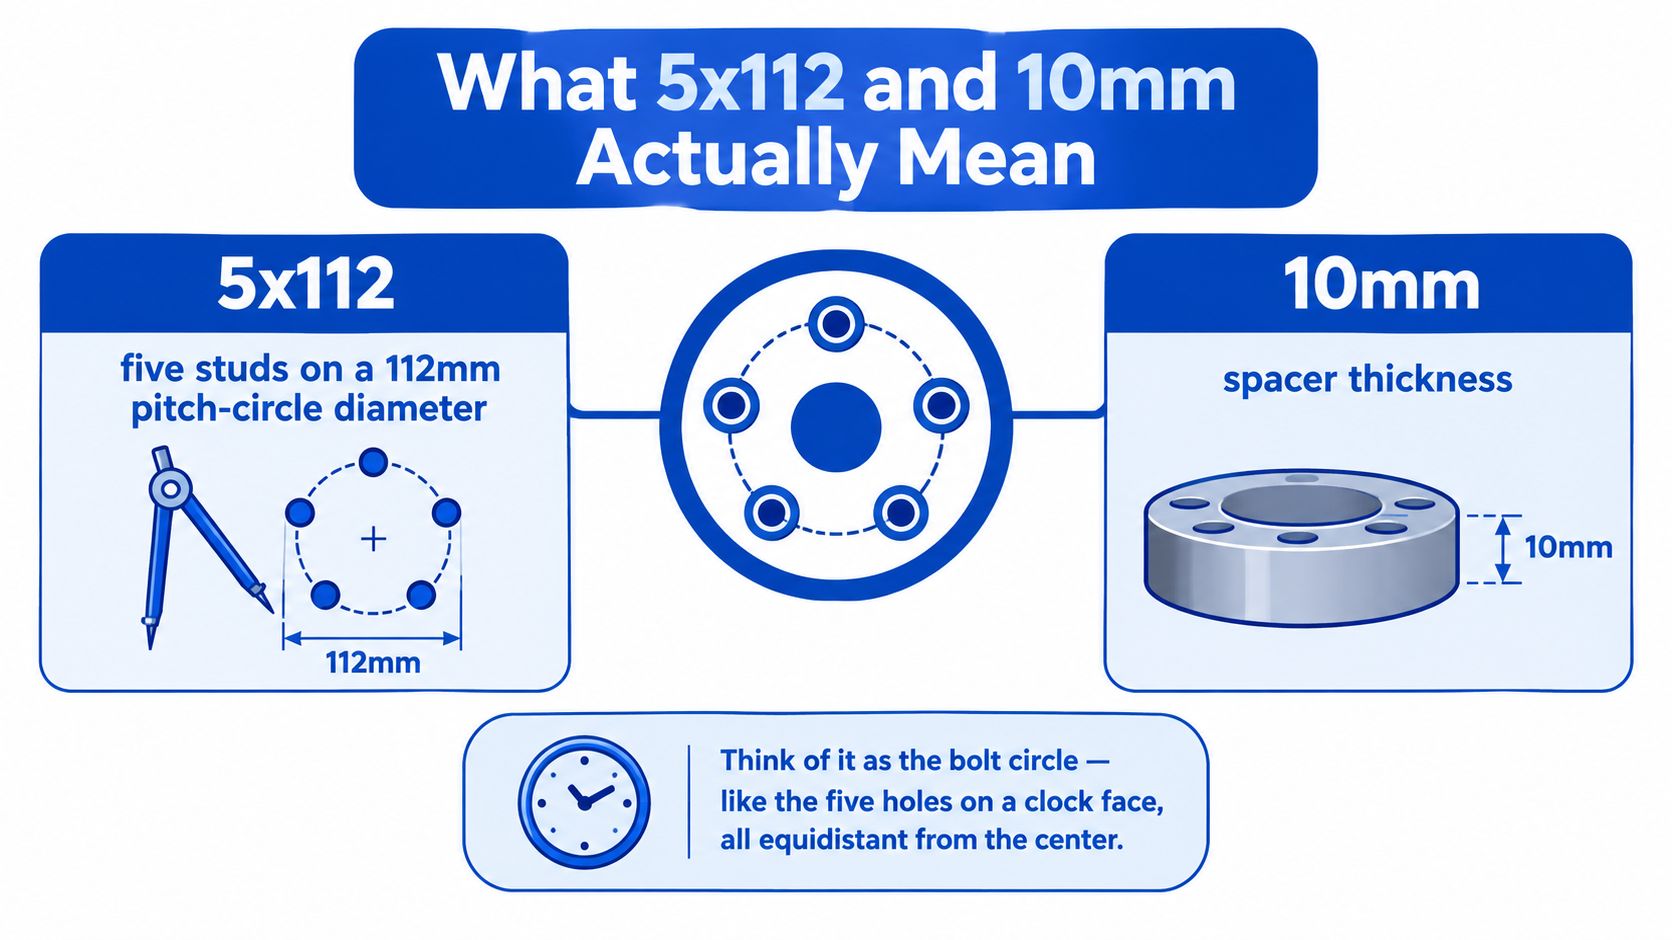
The difference between PCD, offset, and centre bore matters:
- PCD identifies the fastener circle, such as 5x112.
- Offset describes the wheel's position relative to its centreline. Moving the wheel outward with a spacer lowers the effective positive offset.
- Centre bore is the central opening that locates the wheel on the hub or spacer's locating lip.
Common Audi hub-bore dimensions include 57.1 mm and 66.6 mm, which is why PCD alone can't establish compatibility. A wheel can match 5x112 and still have the wrong centre bore, poor hub support, or an unsuitable seat for the fastener. The hub and wheel interface must work as a complete assembly.
Fastener design is another separate check. Audi applications can use different thread and seat requirements, and the wheel may use a ball seat or conical seat. The bolt must match the wheel seat, thread diameter, thread pitch, and usable engagement. The National Highway Traffic Safety Administration explains that offset is measured between the wheel centreline and the wheel-to-rotor mounting surface, and warns that incorrect width or offset can cause interference with brake components. Its guidance also stresses matching fastener diameter, pitch, and seat, and cautions against using spacers to resolve a fitment mismatch. See the NHTSA wheel and tire safety bulletin.
For a useful overview of Audi wheel terminology, the Audi performance parts glossary is a helpful reference. Read a wheel listing as a group of specifications, not as a single “5x112” label.
Measurements That Decide If 10mm Will Fit Your Audi
The right purchase starts with the car in front of you, not the product page. Measure the hub, inspect the wheel, and calculate what remains after the spacer takes up its thickness.
Start with the hub and spacer interface
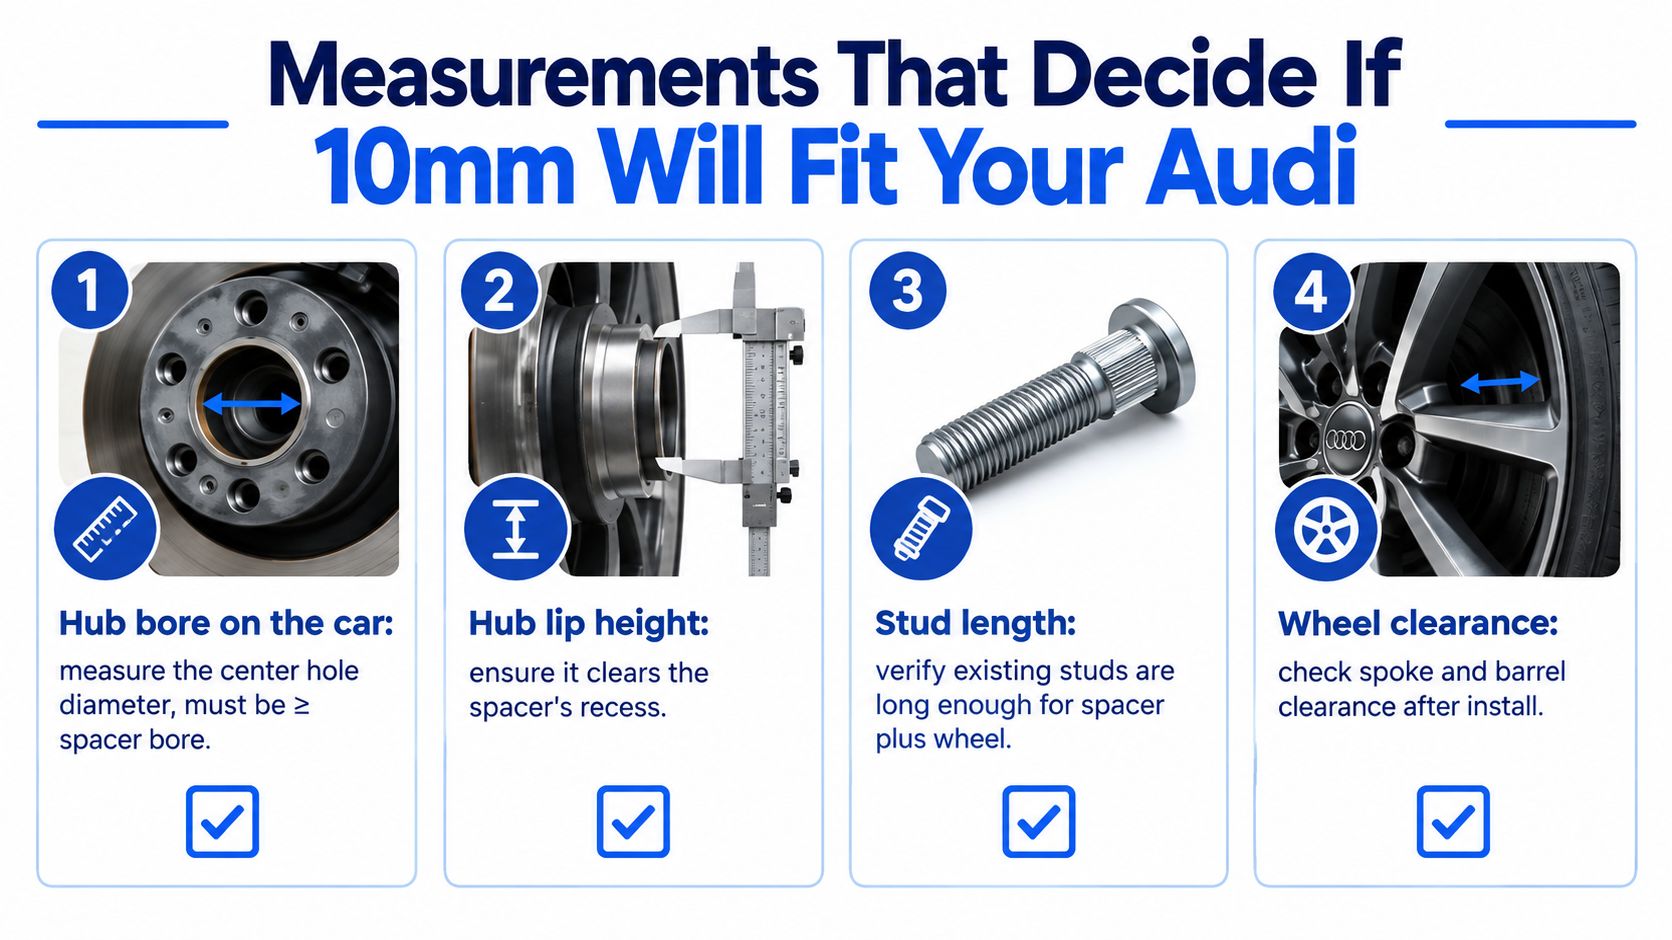
Measure the hub bore and compare it with the spacer's inner bore and the wheel's centre bore. The spacer must fit the vehicle hub correctly, while its outer locating lip must support the wheel. A large universal centre hole may allow the wheel to bolt up, but it won't provide the same locating support as a correctly matched hub-centric component.
Next, measure hub-lip height with the wheel removed. A ten-millimetre slip-on spacer occupies ten millimetres of the hub's available depth, so the remaining lip must still support the wheel's centre bore. One technical spacer listing warns that its ten-millimetre slip-on design can't be used where the hub height exceeds roughly 13 mm, while another recommends retaining at least 5 mm of hub engagement after installation. Review the specific spacer's geometry rather than assuming every product uses the same recess.
Check the wheel and brake clearance
Look at the wheel's centre-bore shape, not only its diameter. A chamfer or internal step can prevent the wheel from sitting fully over the spacer's locating lip. Hold a straight edge across the wheel's mounting face and inspect how much room exists around the hub feature. A dry fit is more reliable than trying to infer compatibility from catalogue photographs.
Brake clearance deserves a separate inspection. Check the nearest caliper point to the wheel spokes and barrel, then turn the steering through its usable range after the wheel is installed. Moving the wheel outward can improve inner clearance, but it can also create contact at the fender, liner, or tyre shoulder during steering and suspension compression.
Measure the fastener requirement
A slip-on spacer requires longer wheel bolts because the spacer uses part of the original bolt's usable length. Confirm the original thread specification, thread pitch, seat profile, and the required additional length for the spacer and wheel. Don't select a fastener by overall length alone. The shoulder and seat must allow the bolt to clamp the wheel correctly without bottoming in the hub.
Use the wheel-offset measurement guide to document the wheel's existing position before you calculate the new effective offset. If any measurement is uncertain, stop before ordering. A spacer that is dimensionally close isn't necessarily safe.
Hub Centric Slip On vs Bolt On Spacers for 10mm
At ten millimetres, the choice between a slip-on spacer and a bolt-on adapter depends mainly on the hub and wheel interface. The two designs don't solve the same problem in the same way.
A hub-centric slip-on spacer slides over the original hub and stays between the hub face and wheel. The wheel remains dependent on sufficient hub-lip engagement, and the wheel bolts provide the clamping force through the spacer and wheel into the hub. This is the cleaner installation when the hub height, spacer recess, centre bore, and fastener length all line up.
A bolt-on adapter attaches to the vehicle with its own fasteners, then provides studs or a new wheel-mounting interface for the wheel. It can help where the original hub is too short for a slip-on design, but it adds another fastener interface and requires careful attention to adapter seating, stud clearance, and torque.
| Factor | Slip-On Spacer | Bolt-On Adapter |
|---|---|---|
| Hub-lip height | Requires enough remaining engagement after the spacer is fitted. A listing may reject hubs exceeding roughly 13 mm, so verify the design's limit. | Better suited to a short or unsuitable hub, provided the adapter fully seats and is correctly specified. |
| Wheel centre bore | Must accept the spacer's outer locating lip and sit fully against the spacer face. | The adapter's outer hub feature must match the wheel, especially where the wheel centre bore won't locate correctly on a slip-on design. |
| Budget and complexity | Usually the simpler, lighter installation, but it demands correct extended bolts and hub geometry. | More hardware and another interface to inspect, with the advantage of independent wheel-location hardware. |
For many B8 and B9 Audi applications with suitable hub geometry, a quality slip-on spacer is the straightforward choice. That doesn't make it universal. A shorter hub, an unusually large aftermarket centre bore, or a wheel that can't sit correctly on the slip-on's outer lip may justify a bolt-on solution.
The important point is to choose the architecture after measuring. A branded product still won't work if its recess is wrong for the hub or its outer lip doesn't suit the wheel. If you're pairing wheels with a different centre-bore dimension, a correctly specified Audi hub-centric ring may be relevant, but it doesn't replace checking the spacer's own bore and locating geometry.
Installing a 10mm 5x112 Spacer Safely
Work on level ground with the car secured, the opposite wheels chocked, and the wheel removed using the vehicle manufacturer's lifting procedure. Have a torque wrench, breaker bar, suitable socket, wire brush or abrasive pad, and measuring tools ready. Do not start by fitting the spacer. Inspect the hub face, wheel mounting face, centre bore, and threads first.
Clean corrosion, dirt, and loose material from every mating surface. The spacer must sit flat against the hub, and the wheel must sit flat against the spacer. Even a small corrosion ridge can create runout or uneven clamping. Dirt around the hub lip can also prevent the spacer from seating fully.
Dry-fit the spacer before lifting the wheel into place. Check that the centre bore passes cleanly over the hub, the rear recess clears the hub face and lip, and the outer locating ring enters the wheel without binding. Confirm that the spacer sits squarely with no rocking or visible gap. If it stops short, find the interference rather than forcing it on.
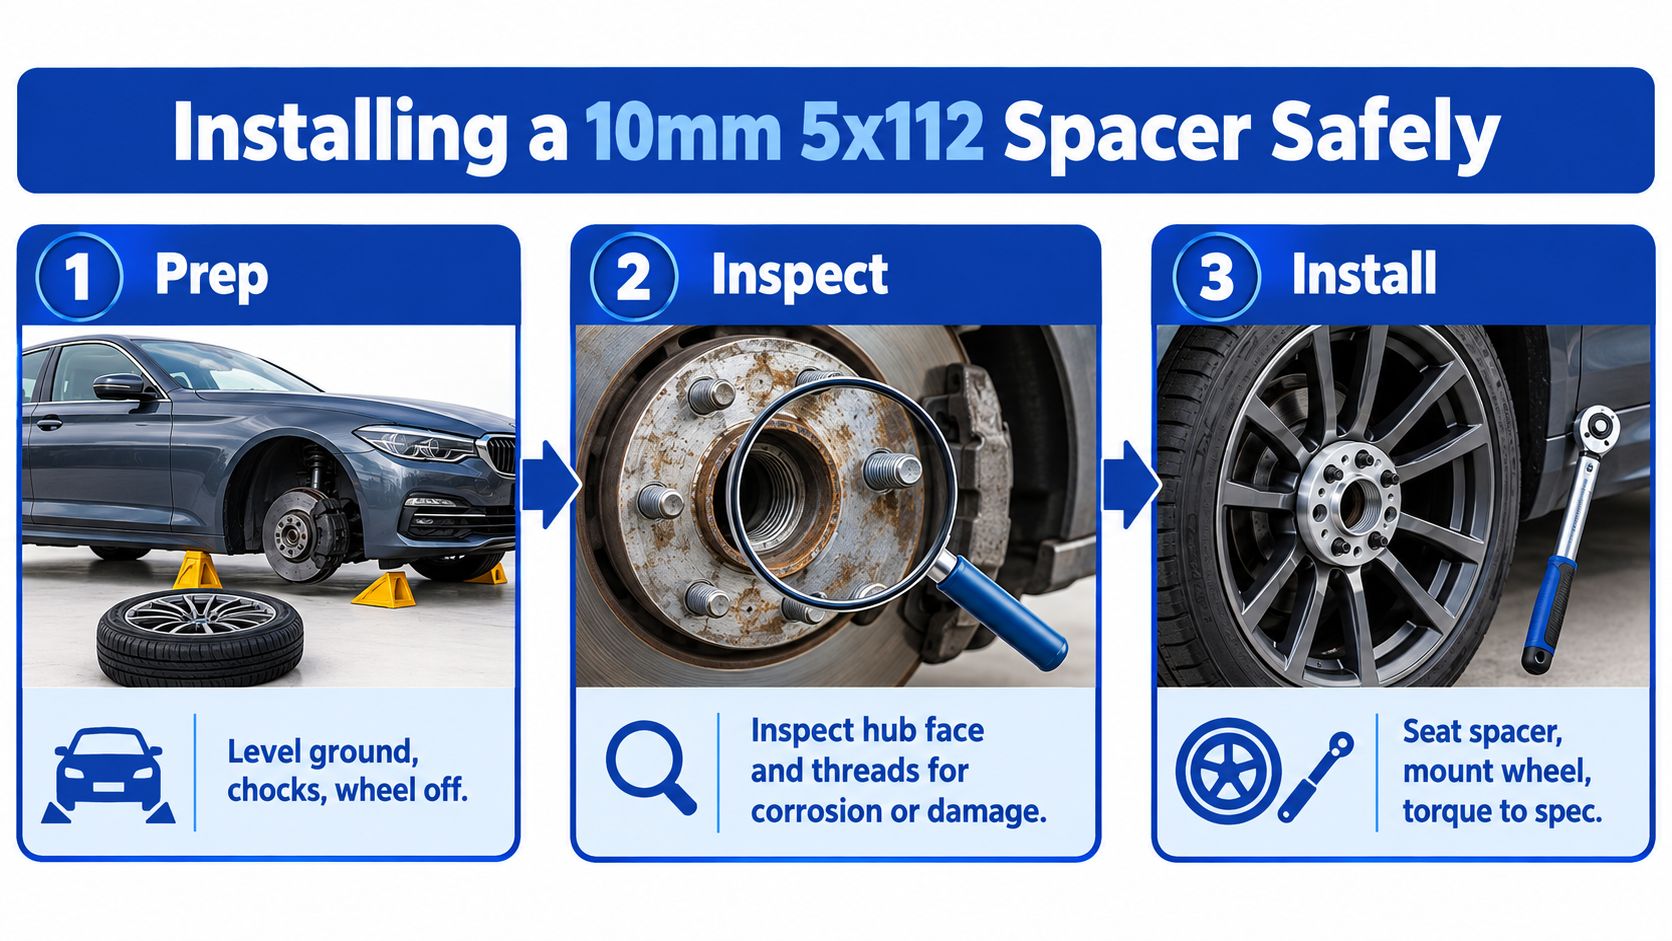
Replacement fasteners must have the correct thread diameter, pitch, seat type, and usable length. A ten-millimetre spacer reduces the thread engagement available from the original fastener, but adding ten millimetres to the original bolt is not automatically correct. Check the wheel seat design and the spacer supplier's specification. A ball-seat bolt in a conical-seat wheel may thread into the hub yet clamp the wheel incorrectly.
Set the wheel onto the spacer and start every fastener by hand. Each bolt should turn smoothly. Stop if one cross-threads, bottoms out, ends unusually early, or feels rough. The torque wrench should never be used to pull a misaligned wheel or poorly seated spacer into position.
Tighten the fasteners gradually in a star pattern, then apply the torque specified for your exact vehicle, wheel, and fastener combination. Audi torque values vary by application and hardware, so avoid a generic figure. The documented specification for the relevant components takes priority.
After approximately 50 to 100 miles, recheck fastener torque according to the spacer manufacturer's instructions. Inspect the hub and wheel interfaces at the first wheel-off service. Vibration, clicking, movement, or fresh contact marks requires investigation before further driving.
The APR 5x112 spacer set shows why centre-bore and application details must be checked alongside thickness. If the supplier cannot document hub-lip engagement and bolt engagement for your exact hub and wheel, it is not the right ten-millimetre part.
Common Mistakes and Edge Cases on 5x112 Audis
The most common mistake is treating every ten-millimetre spacer as interchangeable. Machining quality, hub bore, outer locating lip, recess depth, and included hardware can differ. A part that shares the correct PCD may still leave inadequate hub engagement or prevent the wheel from seating.
Another bad fix is using a spacer to solve the wrong wheel specification. If the wheel has unsuitable offset, width, centre bore, or spoke clearance for a large brake package, moving it outward may create fender contact without guaranteeing adequate caliper clearance. The correct wheel specification is the better solution when the underlying fitment is wrong.
A spacer can change wheel position. It can't redesign the wheel.
Check the outside of the assembly as carefully as the inside. With the car on the ground, inspect the tyre shoulder at steering lock and look for contact through suspension movement. Lowered suspension, wide tyres, unusual sidewall shapes, and aggressive wheel offsets can make a ten-millimetre change more significant than it appears while the car is stationary.
Fastener mistakes are particularly easy to miss. Ball-seat and cone-seat hardware aren't interchangeable, and the original bolts may no longer offer sufficient usable engagement after a slip-on spacer is installed. Never assume that a bolt with the right thread will clamp the wheel correctly.
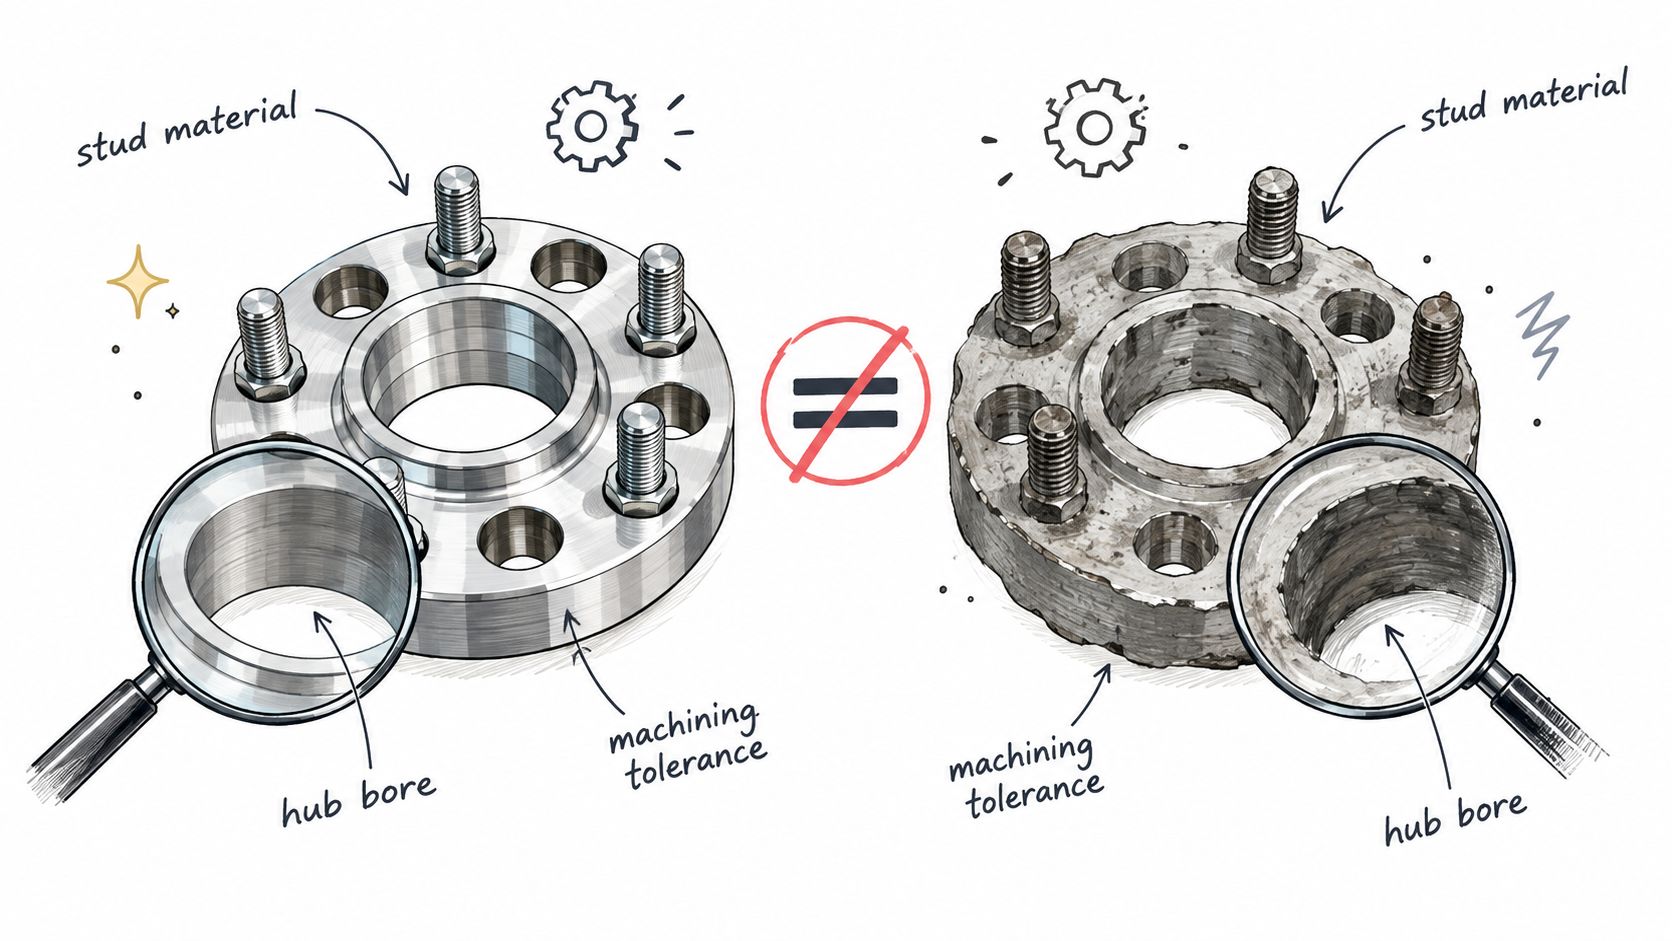
Inspect the spacer itself before fitting it. The mounting faces should be clean and even, the bore should be free of damage, and the locating lip should be concentric. Avoid components with rough machining, visible distortion, damaged threads, or unclear specifications.
Finally, check local inspection and insurance requirements. Wheel spacers may be treated as a vehicle modification in some regions, and the modification can affect inspection, warranty discussions, or coverage decisions. Those consequences depend on local rules and the specific policy, so confirm them before installation. The Audi wheel fitment guide can help with general application research, but it doesn't replace local compliance advice.
Pre Purchase Checklist and When a Spacer Is the Wrong Fix
Before ordering a spacer 10mm 5x112 setup, confirm each point:
- Pattern: Verify that the vehicle and wheel use 5x112.
- Bore: Match the vehicle hub, spacer bore, spacer locating lip, and wheel centre bore.
- Hub engagement: Measure the remaining hub support and retain at least 5 mm after installation.
- Fasteners: Confirm thread, pitch, seat type, and usable extended length.
- Clearance: Check caliper, spoke, barrel, suspension, tyre, and fender clearance with the spacer fitted.
- Installation: Clean both mating faces, torque to the correct specification, and plan a recheck after approximately 50 to 100 miles.
A ten-millimetre spacer is the wrong fix when the wheel has unsuitable width or offset, the centre-bore geometry can't locate correctly, or brake and fender clearance remain unresolved. In those cases, select a wheel designed and verified for the Audi platform instead of pushing the existing wheel outward and hoping the compromise disappears.
For owners who'd rather remove that uncertainty at the wheel-selection stage, Vorsprung Autowerk provides fitment-focused Audi parts support and custom forged wheel options.
Vorsprung Autowerk can help verify wheel specifications, brake clearance, hub compatibility, and spacer requirements for your Audi platform before you order. Visit Vorsprung Autowerk with your vehicle details and current wheel measurements, and ask for a fitment-led recommendation rather than a thickness-only answer.


